We have been on Spring Break this week and I have finally had some time to explore the homemade art recipes from the PreKinders Blog . On Thursday my 3 and 6 year old sons helped me make some homemade finger paints. We had a lot of fun and couldn't believe how cool the colors turned out! Here are some pictures and some insights we had while making the paints.
Here we are mixing the flour and cold water together. It took a little time to get all the lumps out.
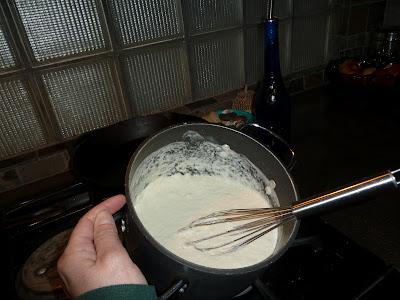
As the flour and water began to heat up on the stove it got pretty lumpy. I thought I had ruined the recipe but it was just the beginning of the solution coming together to make a thick paste. The recipe said to keep stirring until the paste became clear. Eventually my arm got tired from stirring the thick paste so ours ended up opaque rather than clear.
We divided up the paste and then did some color mixing with Schilling Neon Food Coloring. The boys LOVED this part!
Here are the paints we made. We had enough for 7 different colors, but I ran out of plastic containers. I purchased the containers at the Dollar Tree and they came with lids which was handy.
Here are the artists at work and some of the finished products. We painted on white construction paper and let our paintings dry over night. The paper curled quite a bit on the paintings that had "thick" applications. We put them under heavy books to flatten them out. Next time we get the paints out we will paint on poster board. The paints dry with a glossy sheen which we liked very much. After 3 days the paints were still usable.


No comments:
Post a Comment